How boots are shaped to your feet.
Have you ever wondered how boots go from a few pieces of leather sewn together, to a pair of boots that comfortably fit your feet?
That process is called lasting.

What is a Last?
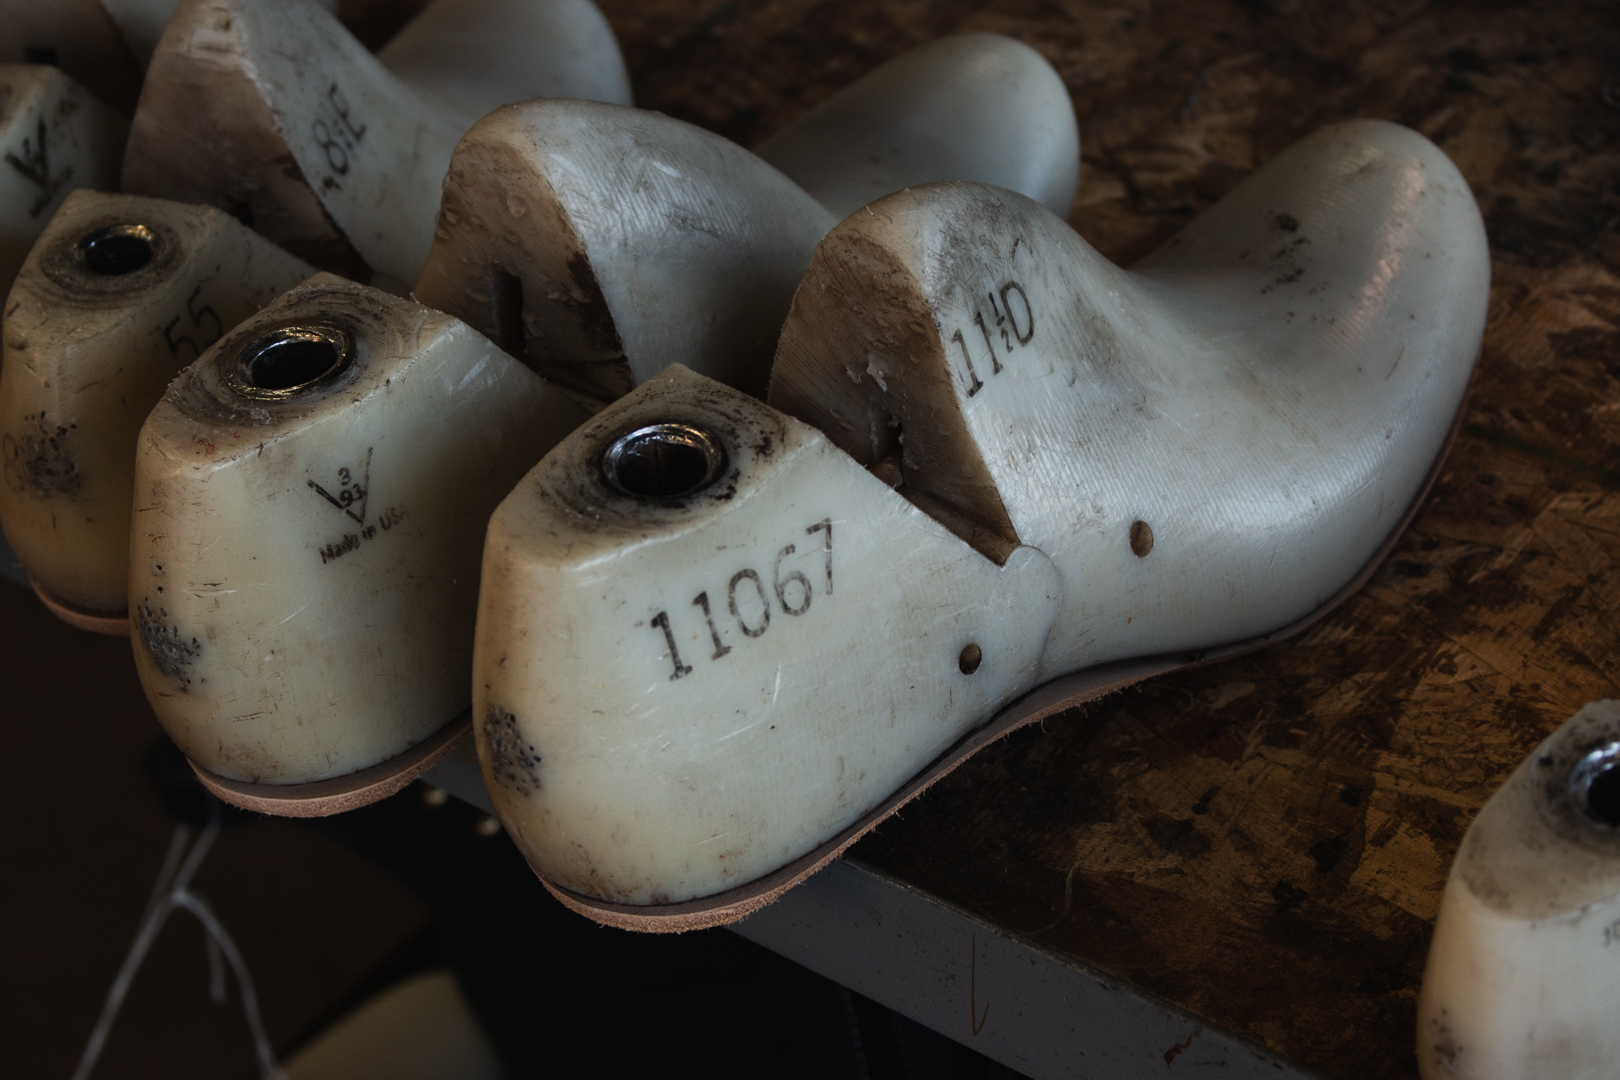
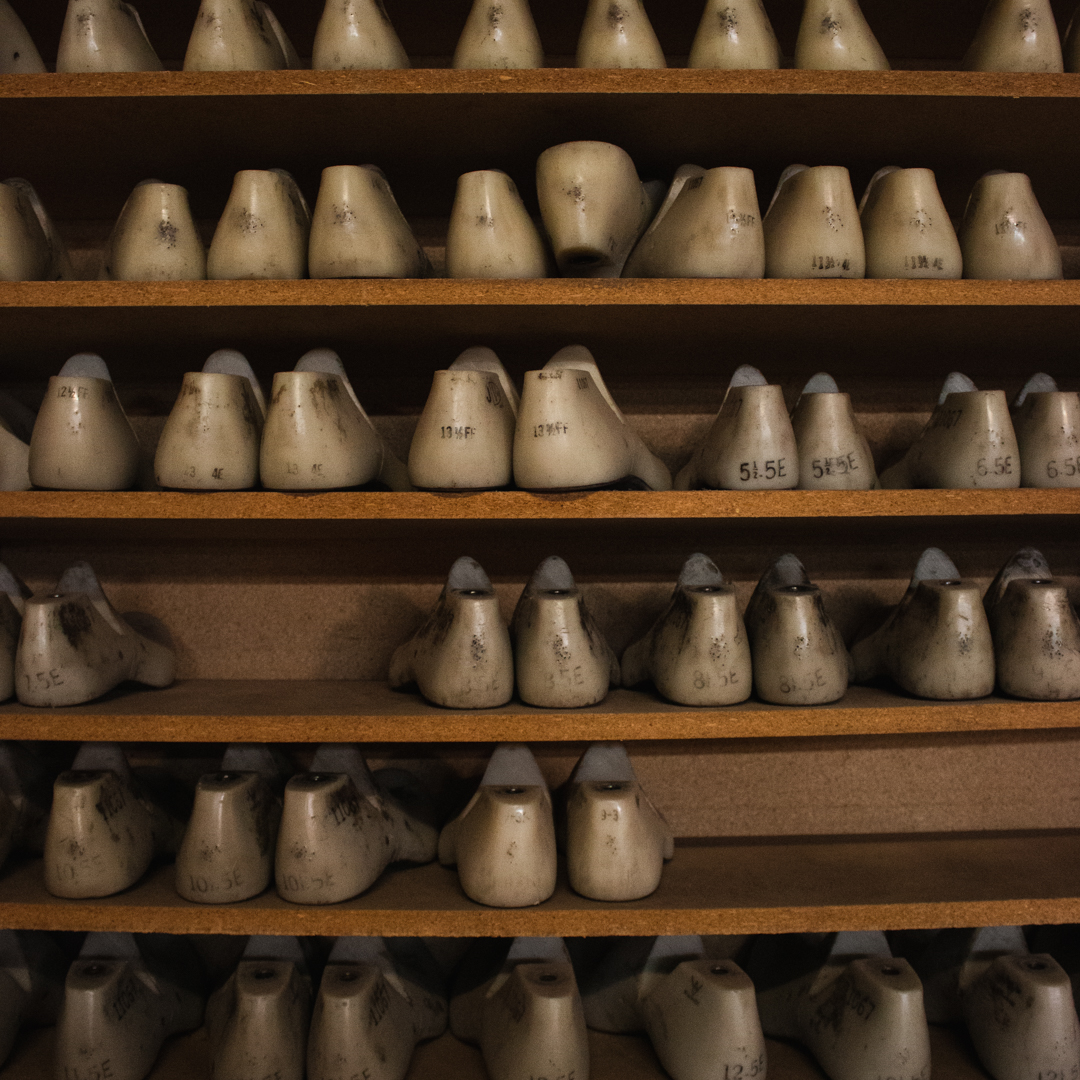
Lasting is the process of stretching, shaping, gluing, and nailing the boot leather around a shoe last. The shoe last is a mold that represents the shape and size of your foot for the construction of the boots. Once the boots are completed, the last is removed and the boots are ready to be worn.
Historically, shoe-lasts were carved from hardwoods, most often beech wood. However, modern shoe lasts are made with high-density plastic or cast aluminum. At Nicks, we use a High-Density Plastic hinged last, with a steel plate attached to the bottom. We specialize in work boots that require extremely tough materials to withstand our customers’ work environments To accomplish this construction, we use a special type of nail, called a clinch nail When a clinch nail hits the steel plate on the bottom of the last, it crimps at the tip of the nail and bends back away from the last, securing the layers of leather from both sides like a rivet.
Now that you know what a last is and how it works, let’s talk about how the process of lasting a boot.

How the Boot is Lasted
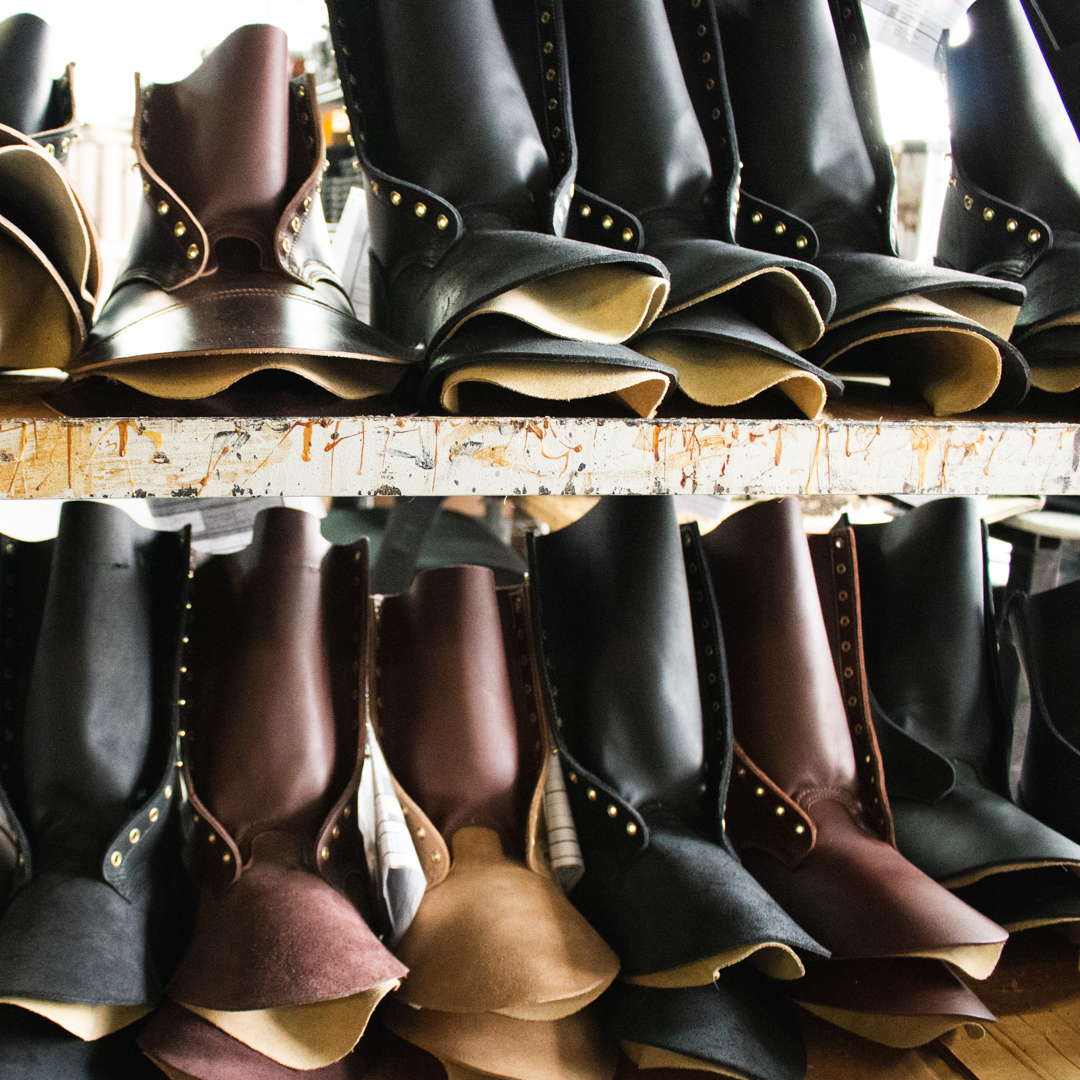
The first thing that is added to a sewn boot, is the addition of a heel counter. A damp counter is inserted into the heel pocket of the boot then shaped using a couple hammer strikes. The leather heel counter is an essential part of a pair of Nicks, and provides unmatched heel support.
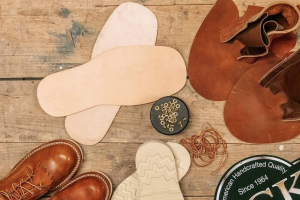
Before the boot can be stretched around a last, an insole needs to be tacked onto the last. The steel plate on the bottom of the last has 3 holes across the middle. The insole is tacked on then hand-trimmed with a knife as close to the edge of the last as possible. The insole is the part of the boot that the bottom of your foot touches and needs to closely resemble the shape of your foot.
After the insole has been tacked on and trimmed, the boot can be lasted and begin to take shape. The cobbler starts by tacking both the left and the right boot to the insole in two places, the toe and the heel, then compares them to make sure there are no differences in the height or alignment of the uppers. Once both the boots look symmetrical, the cobbler then tacks on four additional nails securing the rest of the sewn upper. The boot then moves on to the drying rack overnight. During that time, the wet leather and heel counter dry out, and start to roughly take the shape of the last.
Once the lasted boot has dried, it moves on to the second stage of the lasting process. This begins by stretching, pleating, and securing the heel of the boot. The bootmaker goes around and tacks the heel to the insole then flattens it out with a hammer. These clinch nails in the heel area are crimped against the steel bottom of the shank and secure the heel to the insole. The excess leather is then cut away to make room for the leather shank in the future.
After the heel is finished, the cobbler moves on to the front of the boot and removes the nails holding the vamp to the insole. Glue is then applied to the insole and the vamp liner. This glue needs about 10 minutes to cure as it is a contact adhesive. Once that time has passed, the vamp liner is pressed against the insole all the way around the toe box and the excess is trimmed off. The vamp is then rolled back and has glue applied to it as well as the vamp liner, to secure them together. Once glued, the vamp is rolled back over the last onto the vamp liner and is stretched, pleated, and secured around the last. The nails holding the vamp will need to be taken out soon so the bootmaker is careful to leave the nail heads sticking up a bit.
To complete the lasting process, the bootmaker removes the three nails holding the insole to the last. This will allow the last to be removed from the boot when they’re complete.
