Key Takeaways:
- Leather Repair Is Accessible: With the right tools and techniques, repairing cracked leather is achievable at home, even for first-time DIYers.
- Prevention Is Critical: To maintain durability and appearance, Prevent cracks by regular conditioning, using protectants, and storing leather properly.
- Professional Help Is Worth It: Professional leather repair ensures optimal restoration and long-term durability for severe damage or high-value items.
It’s not over yet.
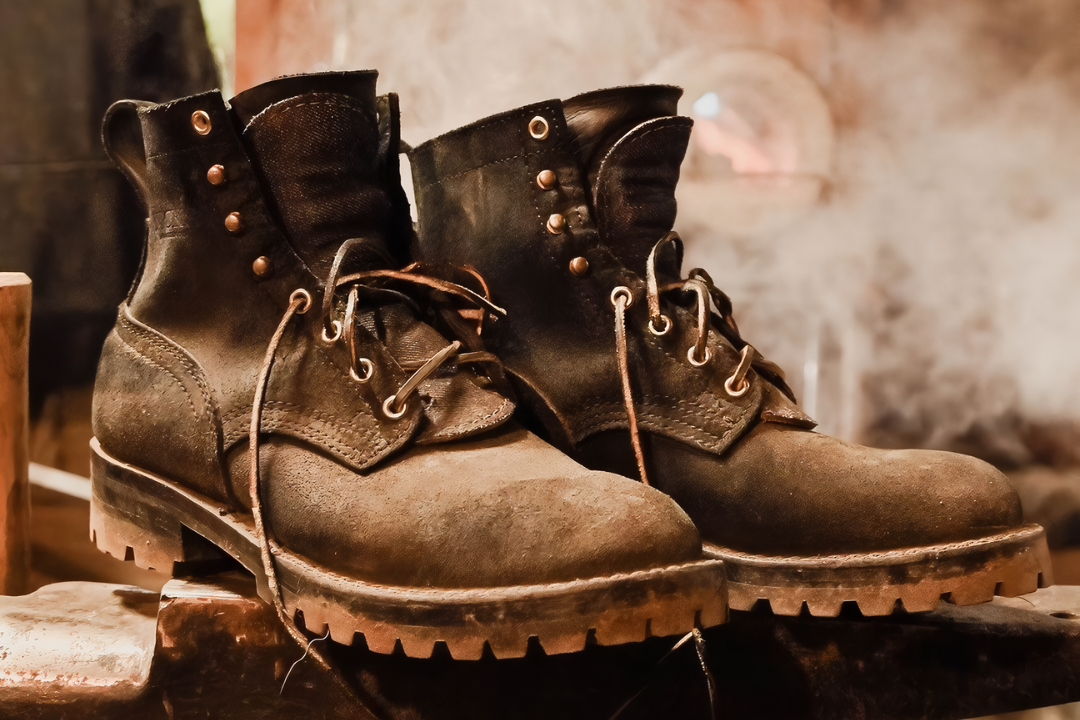
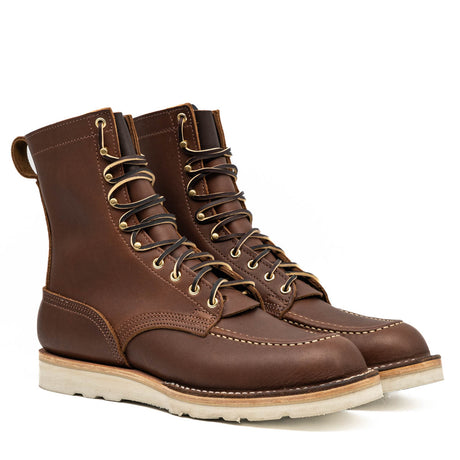
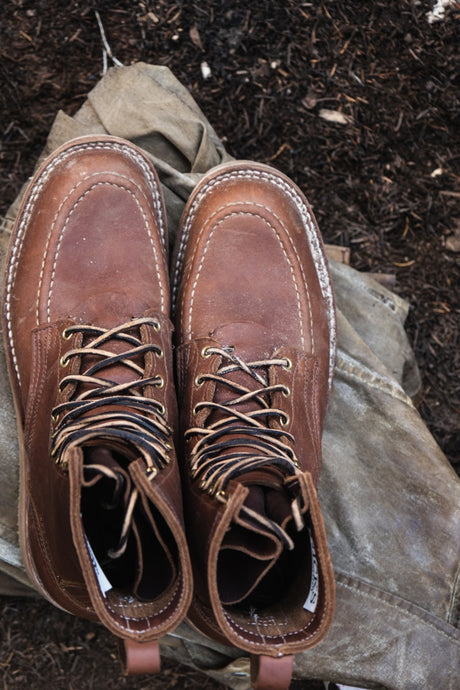
Rest easy if your favorite pair of full-grain leather boots show cracks. Like skin, leather requires care and maintenance to preserve its strength and beauty, especially when exposed to daily wear and tear.
At Nicks Boots, we believe in creating durable, handcrafted footwear that invests in quality. With expert craftsmanship and premium materials, our boots are built to stand the test of time.
In this article, we’ll examine straightforward DIY techniques to restore cracked leather and protect its natural beauty. By following these steps, you can extend the life of your boots, keeping them resilient, functional, and stylish for years to come.
Understanding Leather Cracks: Causes And Prevention
Cracked leather often occurs when natural oils within the material dry out, leading to stiffness and brittleness. Environmental factors like prolonged exposure to sunlight, extreme heat, or low humidity exacerbate this process, weakening the leather’s structure. Over time, dirt and debris can further embed into the cracks, accelerating wear and making restoration more challenging.
Preventing cracks starts with routine maintenance and proper storage. Regularly conditioning your boots with a high-quality leather conditioner replenishes lost oils and keeps the material supple. Additionally, storing boots in a cool, dry place away from direct sunlight or moisture ensures they remain durable and resistant to environmental damage.

Essential Tools And Materials For Leather Repair
Repairing cracked leather requires the right tools and materials to ensure the restoration process is both effective and gentle on the leather. Having these items on hand allows you to address damage adequately, avoid worsening cracks, and achieve a seamless repair. Here’s what you’ll need:
- Soft-Bristled Brush Or Microfiber Cloth: Before beginning any repair, thoroughly cleaning the leather surface is vital. A soft-bristled brush or microfiber cloth removes dirt and debris without scratching or further damaging the leather. This step ensures the leather can effectively absorb conditioners and repair creams.
- Leather Conditioner: Leather conditioner is essential for restoring the natural oils that keep the material supple. High-quality conditioners penetrate the leather, replenishing its flexibility and preventing further cracking. Applying a conditioner not only restores moisture but also enhances the durability of your leather boots.
- Leather Filler Or Repair Cream: For deeper cracks, a leather filler or repair cream is necessary to rebuild and smooth the surface. These products are designed to blend with the leather, creating a uniform appearance and reinforcing weak areas. Proper application ensures the cracks are sealed and less prone to future damage.
- Fine-Grit Sandpaper: Fine-grit sandpaper is used to even out the leather filler once it dries. Light sanding ensures a smooth finish that matches the surrounding leather texture. It’s a critical step for achieving a professional and polished look after the repair.
- Leather Dye Or Touch-Up Paint: To finalize the repair, use a leather dye or touch-up paint that matches the original color of your boots. This helps conceal any visible signs of repair and restores the leather’s uniform appearance. Properly blending the dye ensures a flawless finish that looks as good as new.
Step-By-Step Guide To Repair Cracked Leather
Restoring cracked leather may initially seem intimidating, but with patience and the proper techniques, you can revive its durability and appearance. This guide breaks down the process into manageable steps to ensure a smooth, professional-looking result. Follow these steps carefully for a lasting repair:
Clean The Leather Thoroughly
Begin by removing dirt, grime, and any buildup from the leather’s surface. Use a soft-bristled brush or microfiber cloth with a small amount of leather cleaner or mild soap. Cleaning ensures the leather is ready to absorb conditioners and repair materials effectively, making this a vital first step.
Condition The Leather
Once clean, apply a high-quality leather conditioner to restore lost oils and rehydrate the material. Use a clean cloth to massage the conditioner into the cracks and surrounding areas thoroughly. Let it absorb fully; this step is essential for softening the leather and preparing it for further repair.
Fill Cracks With Leather Filler
For noticeable cracks, use a leather filler to rebuild the damaged areas. Apply the filler carefully using a spatula or similar tool, smoothing it evenly over the cracks. Allow it to dry completely, as rushing this step can compromise the durability and appearance of the repair.
Sand The Repaired Area
Once the filler has been set, use fine-grit sandpaper to smooth out the repaired area. Sand gently to blend the filler with the surrounding leather, creating a seamless finish. Wipe away any residue with a clean cloth to ensure the surface is smooth and clean before applying color.
Apply Leather Dye Or Paint
Carefully apply thin layers to the repaired area using a leather dye or touch-up paint that matches your boots. Allow each layer to dry fully before adding another to create a uniform color. This step restores the leather’s appearance and conceals any evidence of repair.
Seal And Protect The Leather
Complete the process by applying a leather protectant to safeguard your work. A high-quality sealant prevents moisture, dirt, and future cracking, ensuring the leather remains durable and well-maintained. Regular use of a protectant keeps your boots looking their best over time.
How To Maintain Leather To Prevent Future Damage
Keeping your leather boots in excellent condition requires regular care and attention. Proper maintenance prevents cracking and extends the life and beauty of your investment. Here’s how to maintain your boots effectively:
Clean Your Boots Regularly
Regular cleaning removes dirt, salt, and debris that can weaken leather over time. Use a soft cloth or brush with a mild leather cleaner to gently clean the surface. This ensures the leather remains healthy and prepared to absorb protective treatments.
Condition The Leather Periodically
Leather needs consistent hydration to maintain its flexibility and prevent drying out. In dry climates, apply a high-quality leather conditioner often every few months or more. Conditioning keeps the leather supple and helps it resist cracks and brittleness.
Use A Leather Protectant
A leather protectant creates a barrier against water, dirt, and stains, safeguarding the material from harsh elements. Choose a product designed for full-grain leather and apply it after cleaning and conditioning. This added layer of protection helps maintain the leather’s durability and appearance.
Store Boots Properly
Improper storage can lead to unnecessary wear and damage. Always store your boots in a cool, dry place, away from direct sunlight or extreme humidity. Using boot trees can also help maintain their shape and prevent creasing.
When To Seek Professional Help For Leather Repair
While many leather repairs can be tackled at home, there are instances where professional expertise is necessary. Extensive cracking, severe damage, or repairs on high-value items may require specialized skills to restore the leather effectively. Knowing when to reach out can save your boots from further damage.
Professional repair services use advanced tools and techniques to handle complex issues like deep cracks, tears, or discoloration. They can also match dyes precisely and reinforce weakened areas for long-term durability. If your boots are an investment piece, professional care ensures they remain in top condition.
How To Test Leather Care Products Safely
Testing leather care products before applying them to your boots is essential to prevent unintended damage. Every leather type can react differently, and testing ensures compatibility with your specific material. Follow these steps to test products safely:
Choose An Inconspicuous Area
Identify a discreet part of your boots, such as the inner side of the tongue or a small corner, to conduct a test. This ensures that any adverse reaction to the product will remain hidden from view. By starting with an unnoticeable spot, you minimize the risk of visible damage to the overall appearance of the boots.
Apply A Small Amount
Take a small quantity of the product and gently apply it to the selected test area. Pay close attention to how the leather responds, noting any signs of discoloration, texture changes, or unwanted residue. Allow sufficient time — typically a few hours or as specified by the product instructions — for the product to interact with the leather fully.
Evaluate The Results
Once the test period has elapsed, inspect the area thoroughly for any signs of damage or undesirable effects. If the leather appears unchanged or exhibits a positive result, you can confidently proceed to treat the entire surface of the boots. Should you notice any issues, refrain from further use, consult a professional, or opt for a more suitable product.
Final Thoughts
Caring for leather isn’t just about maintaining a material — it’s about honoring the craftsmanship and longevity of an investment. Cracks in leather may seem inevitable over time, but they are not the end of the road. With the proper care, you can restore its resilience and beauty, giving your boots, or any leather product, a new lease on life. Repair and maintenance becomes more than a task; it’s a way to connect with the timeless durability and character that leather represents.
At its core, leather care reflects value — respecting the material and the artisanship behind it. Investing time in proper maintenance and learning how to restore it when needed aligns with a tradition of preserving quality over convenience. This approach extends the life of your leather goods and deepens your appreciation for the enduring appeal of well-crafted pieces.
Read also:
Frequently Asked Questions About How To Repair Cracked Leather
Can cracked leather be repaired permanently?
Cracked leather can be repaired, but the results depend on the depth and extent of the damage. Proper ongoing maintenance is essential to preserve the repair and prevent further cracking.
What’s the best way to keep leather from cracking?
Regular conditioning is the best way to maintain moisture and flexibility in the leather. Keeping the leather away from excessive sunlight and humidity prevents it from drying out.
Is it safe to use household items for leather repair?
Certain household items, like mild soap, can help clean leather, but specialized leather care products are more effective for repair. Using unsuitable items, like petroleum-based products, may cause additional damage.
Can cracked leather be softened again?
Yes, applying a high-quality leather conditioner can help soften cracked leather and improve its flexibility. While it won't erase cracks, it will prevent them from worsening.
Is professional leather repair worth it?
Professional repair services are ideal for significant damage or high-value leather items. These experts use specialized tools and products to achieve results that often look factory-finished.
How often should I condition my leather boots?
Condition leather boots every three to six months, depending on usage and exposure to elements. In drier climates or with frequent wear, conditioning may need to be done more often.
Does leather filler work on all cracks?
Leather filler works best on medium to deep cracks that require structural support. Superficial cracks often respond better to conditioners alone, while extensive damage may need professional repair.
Can sunlight permanently damage leather?
Yes, prolonged exposure to sunlight dries out leather, causing cracks and discoloration. Using UV-resistant protectants and storing items away from direct sunlight can minimize this damage.
Are there eco-friendly options for leather repair?
Many brands now offer eco-friendly leather conditioners and dyes made from natural, biodegradable ingredients. These products are safe for both leather and the environment.
Why is full-grain leather more durable than other types?
Full-grain leather retains the most substantial part of the hide, making it naturally resistant to wear and tear. Its dense fibers also ensure it ages beautifully and develops a unique patina.


