How To Tie Logger Boots? 3 Tricks For Tying Logger Boot Laces
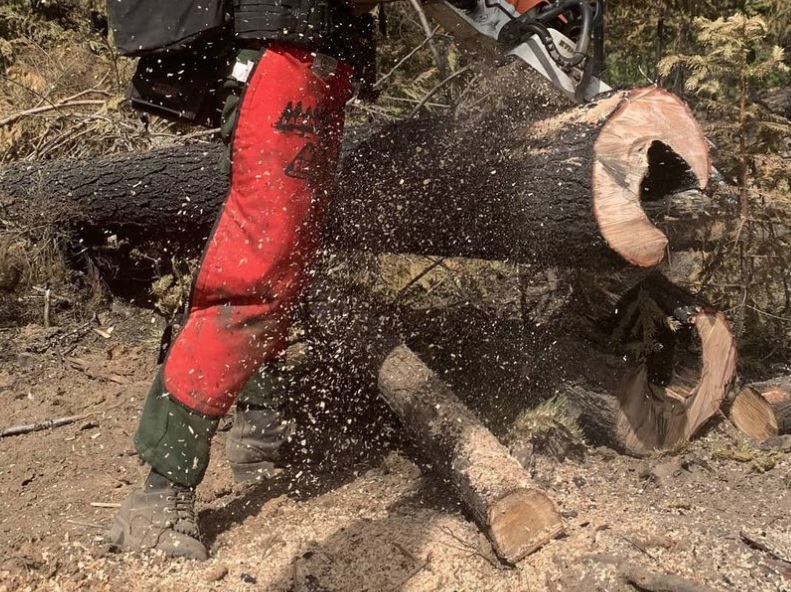
How to tie logger boots? Just like any others. However, if you happen to be wearing your logger boots or logger-style boots in an environment where you really can't stop to tie your laces...there are some tricks.
Obviously, no one wants to be tying and re-tying their laces when they're supposed to be working, or when stopping to lace them up is dangerous. On a lot of job sites, it would be.
Also, just criss-crossing the laces like you would a normal pair of shoes can be uncomfortable, especially in a rural or wilderness environment, so some different lacing patterns may be advantageous.
So, with that said, here are some tricks for tying logger boots for some better use in the field.
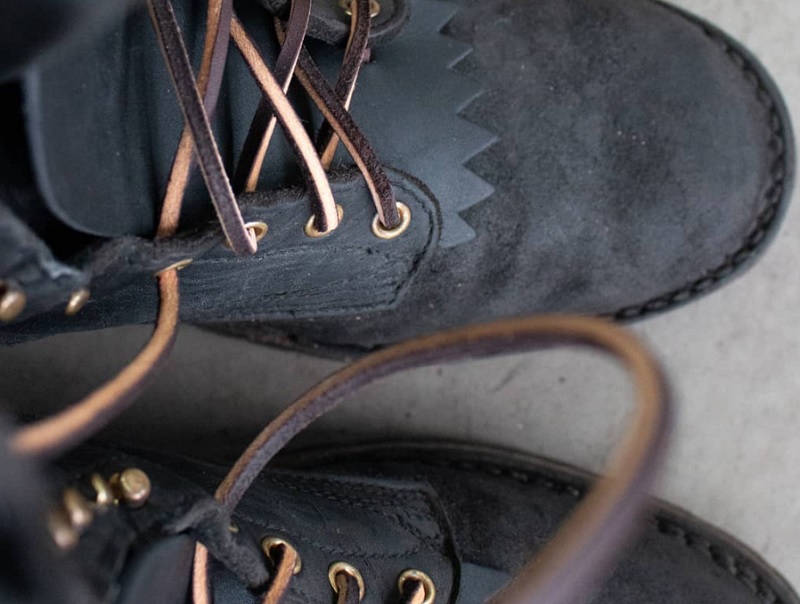
The 2-1-3 Double Cross Ankle Lacing For Comfort And Support
If you're walking on uneven terrain in your logger boots, your work boots have to support the heel and ankle for traction and support so you don't lose footing, but you also need enough flex at the front of the ankle to prevent chafing or other discomfort.
Standard criss-cross lacing tends to stiffen at the ankle, so tying your boots like everyone learned how to do when they were kids isn't necessarily the best idea.
The "Double Cross" lacing method - aka the 2-1-3 method - gives you the best of both worlds, as it sets the heel into the boot but also allows a bit of flex in the ankle. It's been used by hikers for a very long time, and works very well for wearing boots in a more dynamic environment.
So, criss-cross your laces like normal until you reach the eyelets just under the ankle, usually the fourth or fifth pair. Skip one pair of eyelets (or hooks) and pull the laces through the opposite side like normal.
Then drop down to the pair of eyelets (or hooks) that you skipped, and push each lace through the opposite side as you would normally. Then lace the next empty pair of eyelets or hooks.
The result will be a quasi-star like pattern of the laces over the ankle. The practical effect is that it allows the ankle area of the boot to flex, but when pulled snug will also help set your heel into the boot without making the laces longer or shorter.
If you have half eyes and half hooks, lacing and untying your boots in this fashion is easy as heck, but a pair of boots with only eyelets is going to be a royal pain to loosen and take off.
Therefore, also make sure you've invested in a comfortable pair of work boots so you keep them on as long as possible!
Wrap Your Laces Under The Last Eyelet For Comfort And Security
Some people have problems with the mouth of the boot chafing them. Some people have issues with having laces that create huge loops even when fully laced.
If you have either of these issues, the solution turns out to be the same! You skip the last eyelet or pair of hooks, and wrap your laces all the way around the boot and then tying them in front.
Some people find this leads to less slippage and therefore having to re-tie your logger boots or what have you a lot less often, and some people don't.
It's already a pretty common practice for a lot of people, but these are common-enough issues that happen to people that it bears mentioning.
In fact, a popular brand of wedge boots (that we won't mention, but rhymes with "Borough Good") is known for having a top eyelet after a series of hooks that few people care for, leading a lot of wearers to tie them this way as a matter of course.
The Heel Lock
Another great method for tying logger boots, outdoor or light work boots or what have you, is what is sometimes called the "Heel Lock." Similar to the 2-1-3/double cross method, it creates more support at the ankle, setting the foot into the heel.
It's also less complicated.
Lace your boots as normal, until you get at or just above the ankle. Instead of going to the next eyelet up diagonally, take each lace to the next eyelet (or hook) up vertically, creating a loop on the outside of the vamp.
Run each lace across the boot through the loop on the opposite side, then pull tight. Then lace in the normal diagonal pattern. It creates a strange tee-pee like knot of sorts, which looks odd.
What it does is snug up the lacing at or above the ankle, setting the heel but also letting the area flex. This gives you the support but also the flexibility needed for navigating tough terrain, but is much easier to undo and loosen for when it's time to take your boots off.


Validate your login